
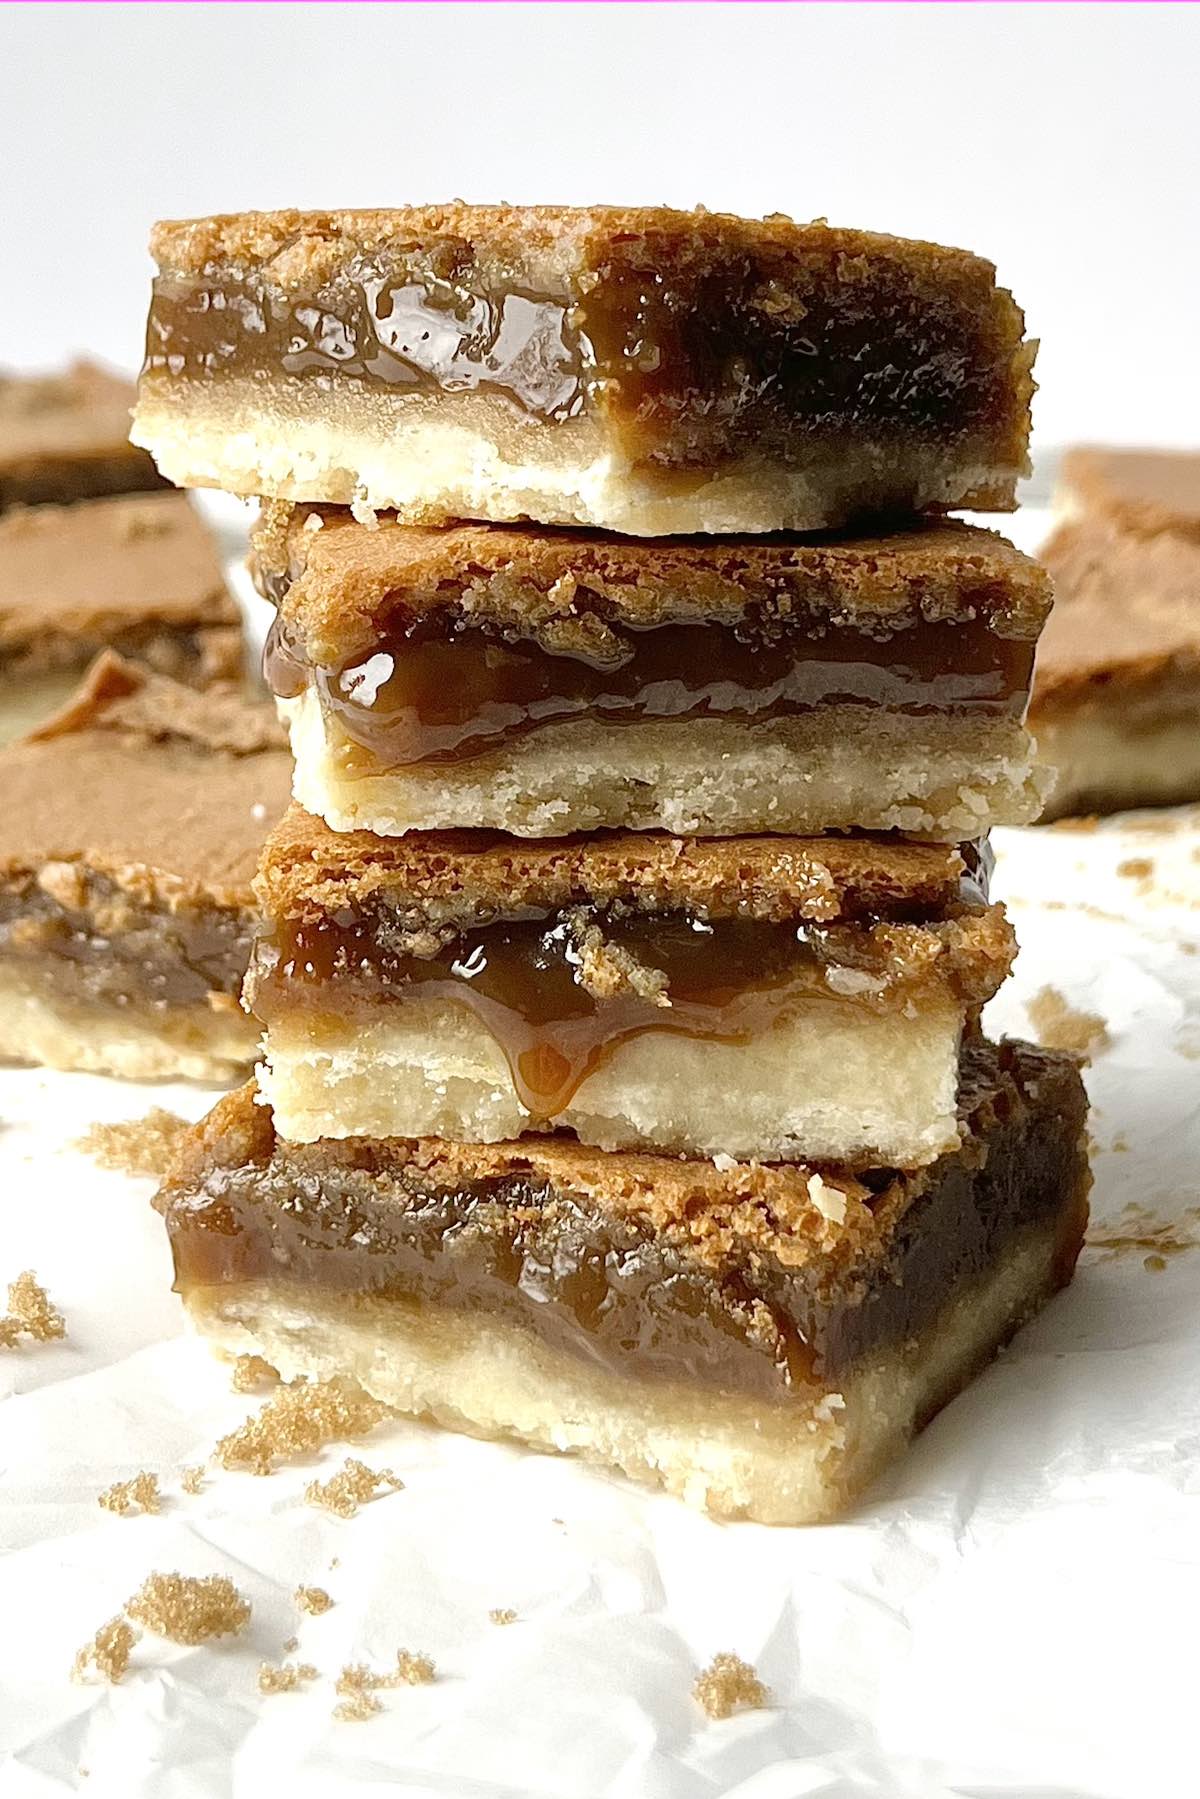
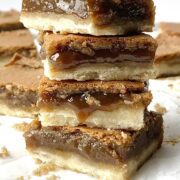
These easy, gooey classic butter tart squares are a fun and delicious spin on the classic butter tart! They have a melt-in-your-mouth shortbread crust and a gooey butter filling that oozes with every bite. If you like these, you’ll love our shortbread pecan bars just as much!
Jump to:
These butter tart bars are perfect for the holidays! They're a fun spin on butter tarts, and I make them every Christmas, and my family devours them in seconds! They love the buttery shortbread crust and the gooey top layer.
If you like making shortbread desserts during the holiday season, add these chocolate dipped shortbread cookies and classic shortbread cookies to your baking list too!
I've also got some other delicious bar treats you've got to try out while you're making that list too.
Check out these apple cheesecake bars, pecan bars, chocolate chip cookie bars, gingerbread bars, and frosted pumpkin bars!

Why you’ll love this recipe
- VERSATILE: These butter tart squares are a versatile dessert that can be made and taste delicious all year round. They are an especially tasty holiday treat during Christmas, Easter, and Thanksgiving!
- EASY: They're super easy with just a few steps that we can easily help walk you through!
- TEXTURE: They have a buttery and flaky shortbread crust that crumbles perfectly with every bite, and the gooey butter tart filling is sweet, flavorful, and so tasty.
Recipe Ingredients
- FLOUR: All-purpose flour is used in the crust and a little in the layer of butter tart filling to help it thicken.
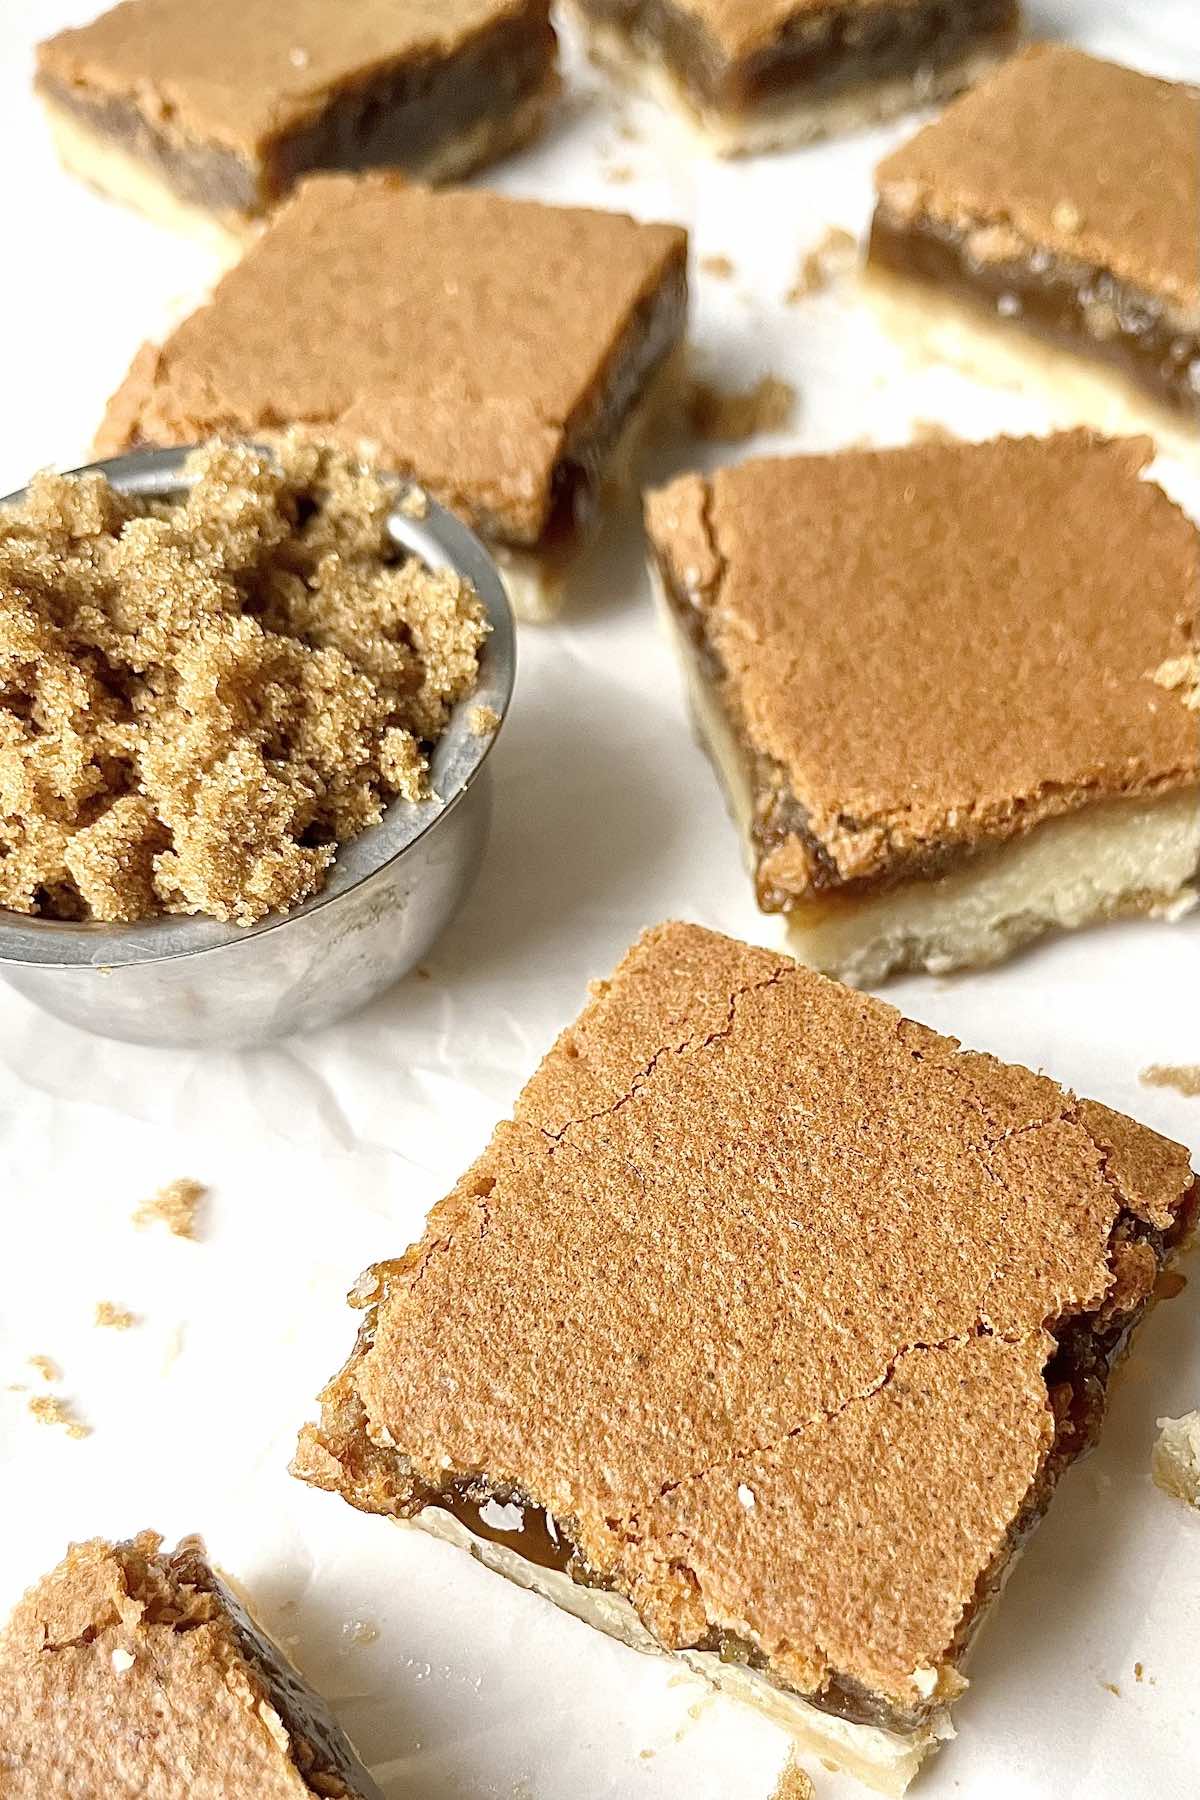
- SUGAR: Granulated sugar is used in the shortbread crust to sweeten it, and brown sugar is used in the layer of filling.
- BUTTER: Pieces of cold butter are used to form a solid dough for the shortbread crust, and melted butter is used in the filling.
- EGGS: A few whole eggs are used in the filling, giving it an ooey gooey texture.
- VANILLA EXTRACT: Vanilla complements the other ingredients well.
- VINEGAR: White vinegar is used in the filling and is an ingredient in traditional Canadian butter tarts. It also helps cut the sweetness of the bars.
- SALT: To enhance the flavor of the bars, salt is used in both the crust and layer of filling.
See the recipe card below for the ingredient measurements.
Kitchen Equipment
- MIXING BOWLS: You need a mixing bowl for the shortbread crust and filling batter.
- ELECTRIC HAND MIXER: For making the butter tart filling.
- BAKING DISH: An 8x8 square baking dish is the best size for this butter tart bar recipe.
- KNIFE: For cutting the squares.
- CUTTING BOARD: For cutting the squares and protecting your countertops.
- MEASURING SPOONS AND CUPS: For measuring the ingredients.
Step-by-Step Instructions
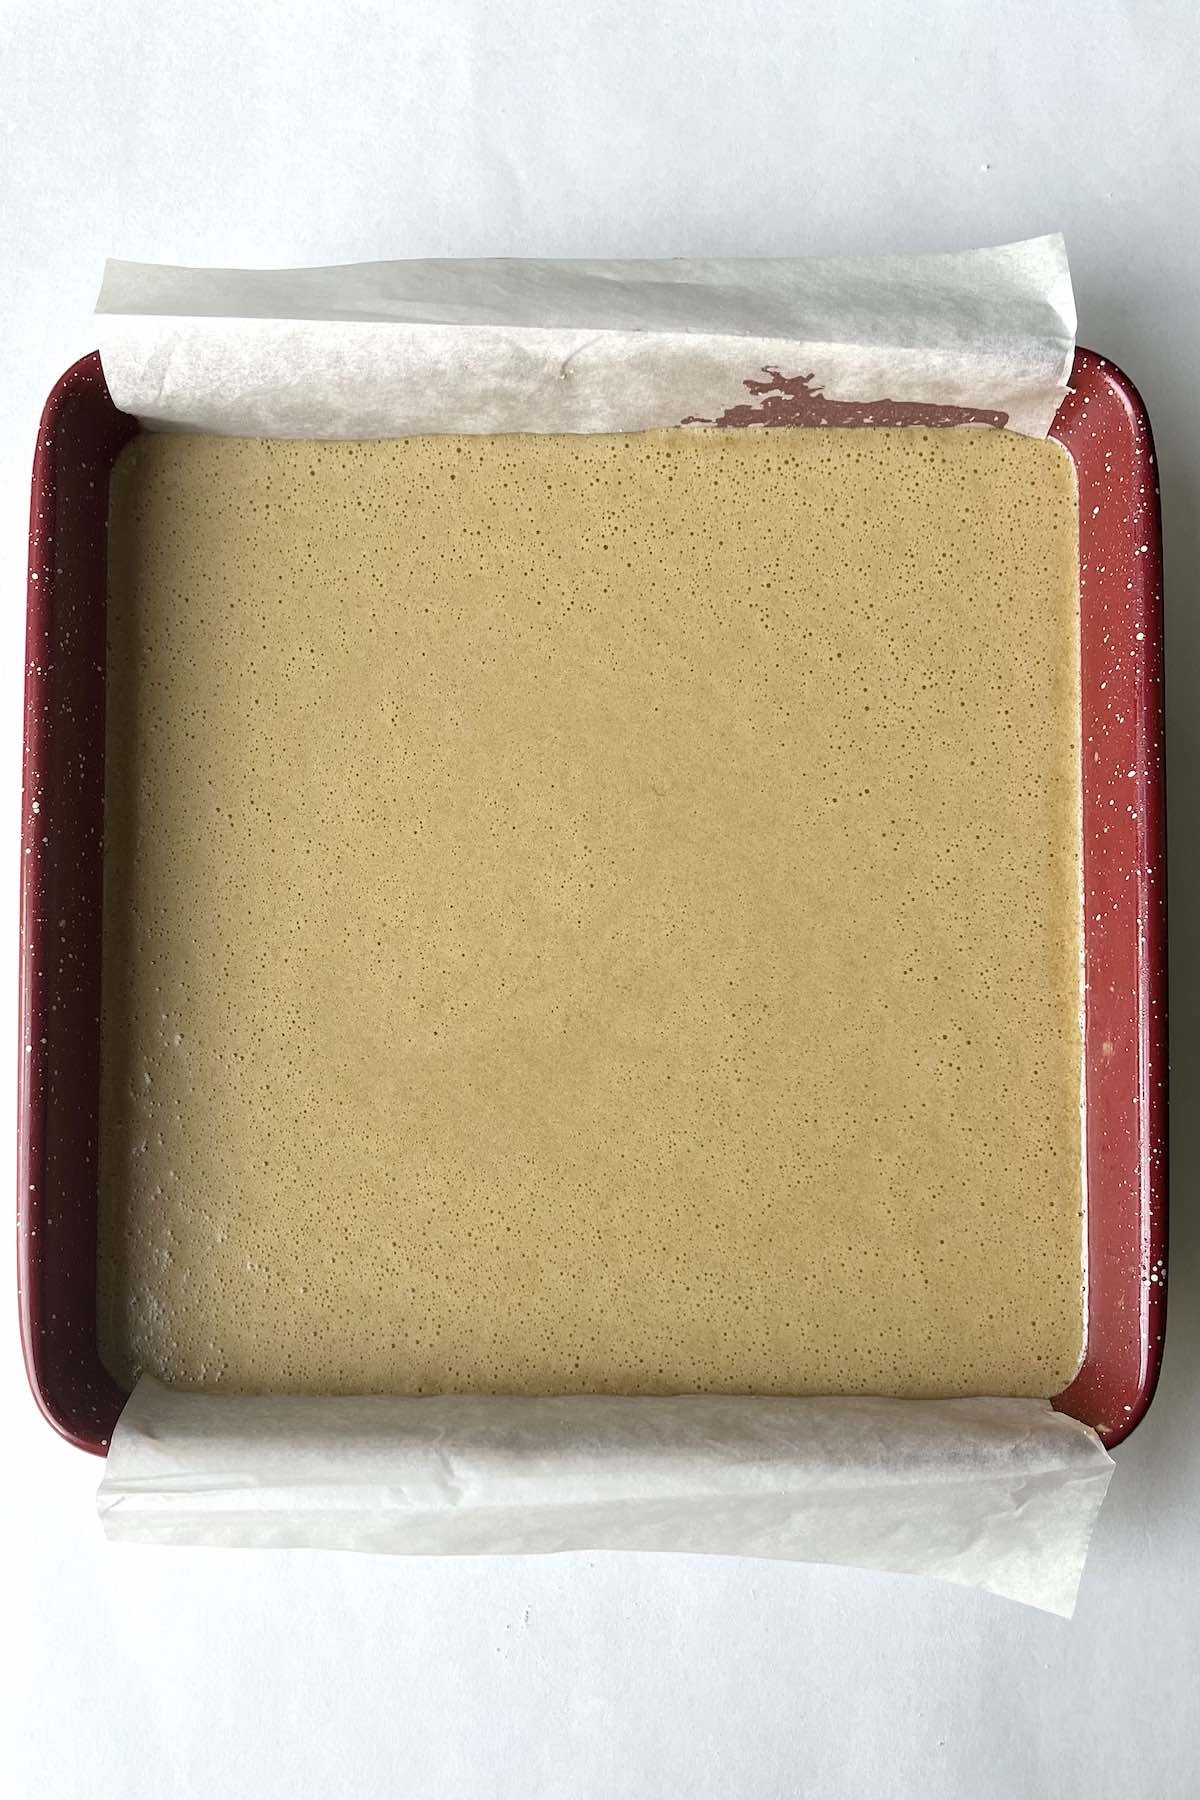
Step 1: Preheat the oven to 350°F, lightly grease an 8x8 baking dish, line it with parchment paper, lightly grease it once more and set it aside.
Step 2: In a bowl, whisk the flour, granulated sugar and salt. Add the cold butter, and use your hands to incorporate it into a crumbly mixture. Evenly distribute and press the mixture firmly into the baking dish, and bake it for 18-20 minutes, until the edges start to lightly brown.

Step 3: In a separate bowl, mix the melted butter and brown sugar using an electric mixer. Add the eggs, flour, vanilla, vinegar, salt, and optional raisins or nuts.
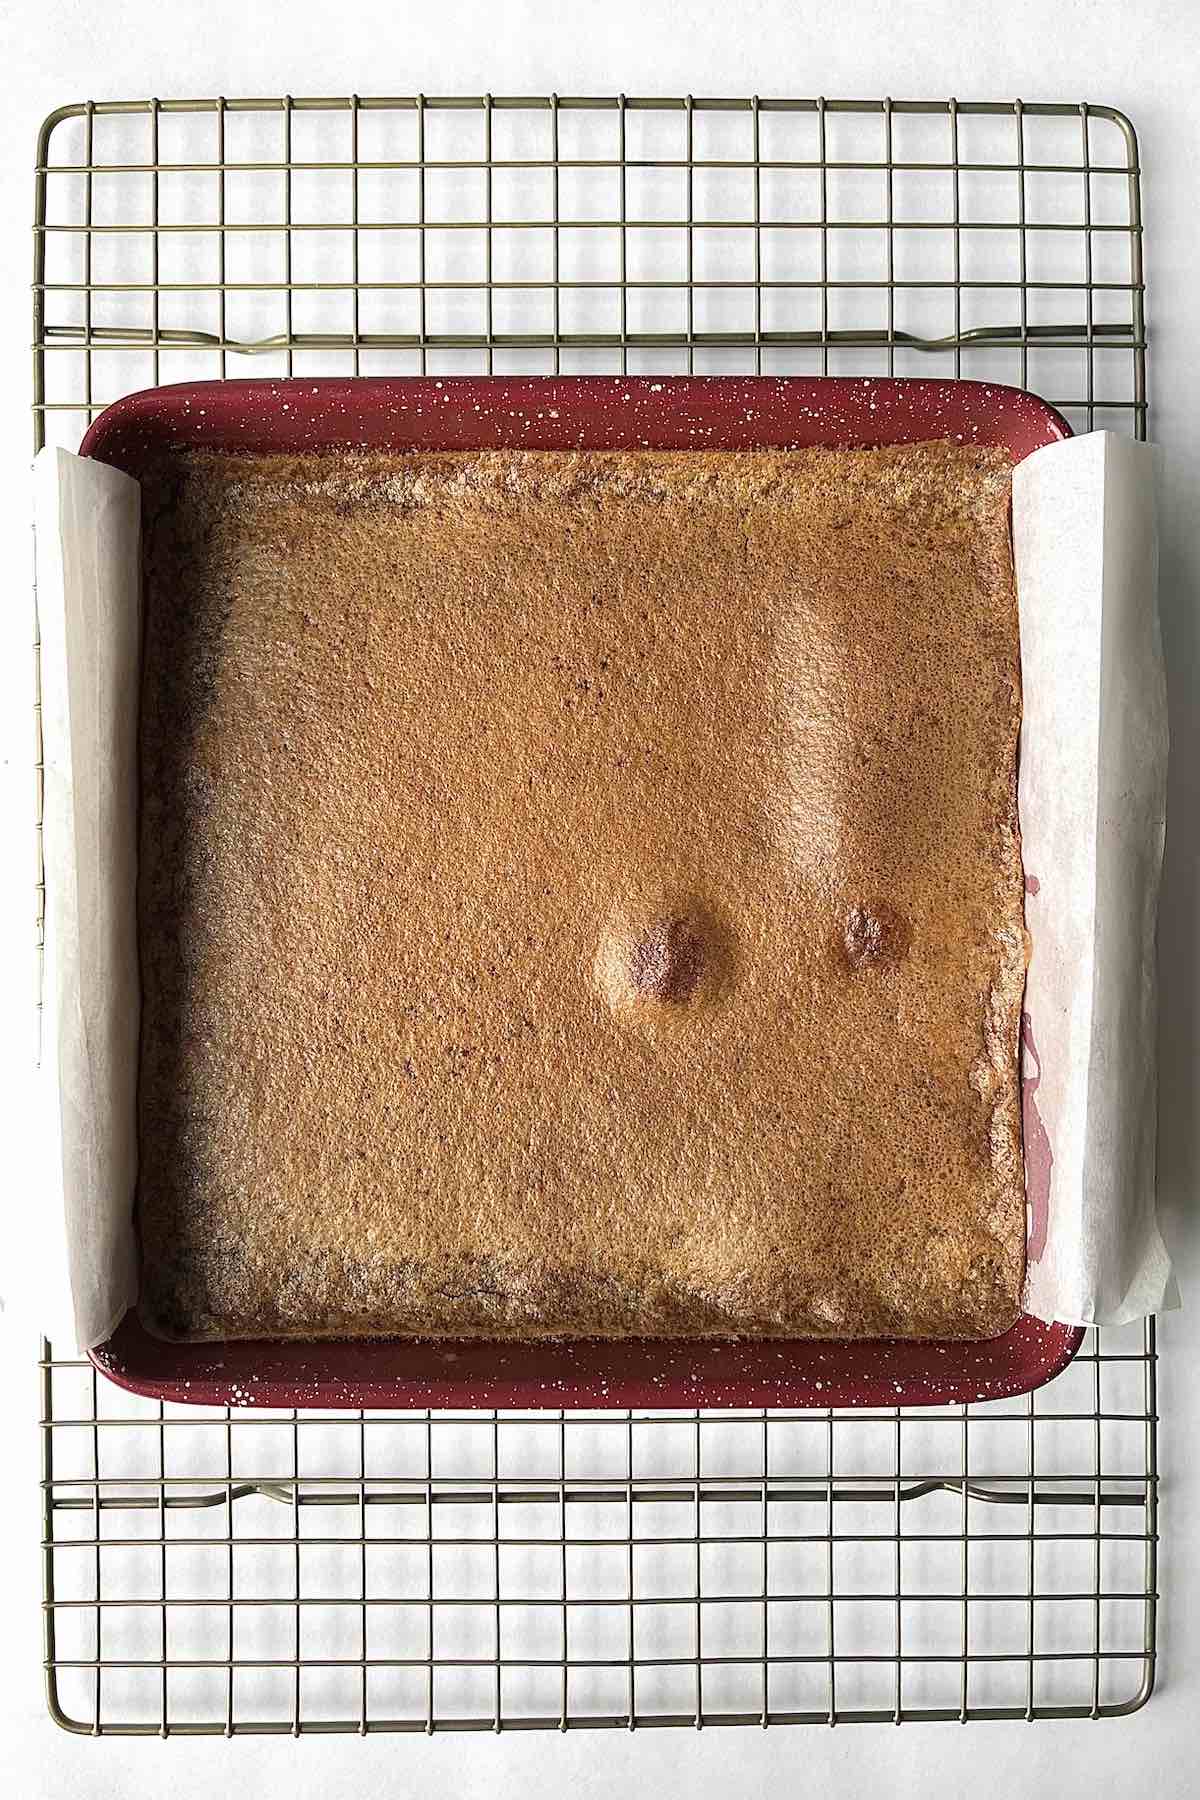
Step 4: Pour the filling over the prebaked crust and bake for 24-26 minutes. It should be dark golden brown and have the slightest jiggle. Transfer to a cooling rack for 30 minutes, then transfer it to the fridge for another 30 minutes to fully set.
Step 5: You can cut the squares right in the pan or remove it all from the pan first by pulling them out by lifting from the parchment paper edges and transferring it to a cutting board to cut.
Storage and Leftovers
Store the bars in an airtight container in the fridge for up to a week or in the freezer for up to 3 months.
Expert Tips
- Don’t give up on the crust! It may look pretty crumbly as you work the crust, but it will start to come together and be packable in the baking dish.
- Don’t skip the flour! The flour in the filling helps it set properly and prevents it from being runny.
- Don’t let browning scare you. A dark brown baked filling topping is completely normal for these squares. They should be baked on the middle rack, and they need at least 25 minutes to bake!
- Loosen the edges. If you find the filling sticking to the edges after it's been baked, glide and wiggle a butter knife against the edges of the baking dish.
- Don’t slice too soon! I know it’s hard to resist cutting into baked desserts once they come out of the oven, but the filling needs to be fully set before it’s cut into, or it will be runny and not cut cleanly. After 30 minutes post-bake, you can transfer the dish to the fridge to speed up the process.
- Cut them into small squares. These butter tart squares are super rich, and you may want to consider slicing them into small bars.
Frequently Asked Questions
This can happen if you don’t blind bake the crust, meaning to pre-bake the crust before baking it with the filling.
The filling may be runny if you don’t add enough flour, it’s not baked long enough, or they were not chilled before slicing.
Yes, the filling can be poured onto the crust as early as the crust leaves the oven.
These butter tart squares freeze great and can be kept in the freezer for up to 3 months.
They are fine being kept at room temperature for a couple of hours if you are putting them out on trays for sharing; however, the butter tart squares should be stored in the fridge or freezer at all other times because depending on the temperature of your house, they may lose their form and become runny.
Alternative Ingredients
- Nuts: Walnuts and pecans are two of the most popular butter tarts and squares additions. They add a delicious nutty flavor and a crunchy texture that pairs well with the butter tart filling. You can even take it a step further and toast the nuts for a few minutes before mixing them into the filling.
- Raisins: Consider adding some raisins to the mix! This is another popular option that people love to add to their butter tarts for their sweet flavor and chewy texture!
Related Recipes
- Pecan Butter Tarts
- Shortbread Pecan Bars
- Shortbread Cookies Recipe
- Shortbread Thumbprint Cookies with Jam
📖 Recipe
Gooey Classic Butter Tart Squares
- Total Time: 35 minutes
- Yield: 16
- Diet: Vegetarian
Description
These ooey gooey classic butter tart squares are easy to make and taste delicious all year round, and especially during the holidays!
Ingredients
Shortbread Crust
- Flour: 1 and ⅓ cup
- Granulated Sugar: ¼ cup
- Salt: ¼ teaspoon
- Cold Butter: ½ cup
Filling
- Melted Butter: ½ cup
- Brown Sugar, packed: 2 cups
- Eggs: 4
- Flour: 1 tablespoon
- Vanilla Extract: 1 tablespoon
- White Vinegar: 1 tablespoon
- Salt: ½ teaspoon
- Optional: ½ cup of raisins, walnuts and or pecans
Instructions
- Prepare: Preheat the oven to 350°F, lightly grease an 8x8 baking dish, line it with parchment paper, lightly grease it once more and set it aside.
- Make the crust: In a bowl, whisk the flour, granulated sugar and salt. Add the cold butter, and use your hands to incorporate it into a crumbly mixture. Evenly distribute and press the mixture firmly into the baking dish, and bake it for 18-20 minutes, until the edges start to lightly brown.
- Make the filling: In a separate bowl, mix the melted butter and brown sugar using an electric mixer. Add the eggs, flour, vanilla, vinegar, salt, and optional raisins or nuts.
- Bake: Pour the filling over the prebaked crust and bake for 24-26 minutes. It should be dark golden brown and have the slightest jiggle. Transfer to a cooling rack for 30 minutes, then transfer it to the fridge for another 30 minutes to fully set.
- Serve: You can cut the squares right in the pan or remove it all from the pan first by pulling them out by lifting from the parchment paper edges and transferring it to a cutting board to cut.
Notes
Scroll up to the full blog post for recipe FAQs, alternative ingredient options, and storage information.
The crust may look pretty crumbly as you work it, but it will start to come together and be packable in the baking dish.
The bars should be baked on the middle rack, and they need at least 25 minutes to bake.
A dark brown baked filling topping is completely normal for these squares.
The filling needs to be fully set before it’s cut into, or it will be runny and not cut cleanly.
If you’re finding the filling sticking to the edges after it's been baked, glide and wiggle a butter knife against the edges of the baking dish.
Nutrition facts are for informational purposes only. We are not responsible for any errors. We have tested the recipe for accuracy, but your results may vary. Please note that this is not medical or nutrition advice. Seek advice from a licensed professional if you need advice. We are not liable for any damages caused by your use of this content.
- Prep Time: 10 minutes
- Cook Time: 25 minutes
- Category: Dessert, dessert bars
- Method: Bake
- Cuisine: canadian
Carlo says
they are marvelous
Andrea says
Thank you so much! I'm glad you like them.
Sherryb says
This looks yummy. Can the recipe be doubled and baked in a 9x13 pan or 1/4 sheet pan?
Andrea says
Thanks Sherry! Yes you can certainly make this in a 9x13 pan. I do that every Christmas to make extra! I would suggest giving it extra time to set before cutting into as well. I hope you give it a try and would love to hear how it turned out!
Wendi says
These were nowhere near done at 26 minutes. I’m wondering what consistency I should be looking for. A slight jiggle in the middle?
Andrea says
Hi Wendi, i'm so sorry these weren't done sooner for you! There should be a slight giggle as you mentioned, and they need to be completely cooled before cutting into them. The crust is baked first at 350 degrees F, then the filling is poured on top and it's baked a second time at the same temperature. The filling needs to have flour in it as well, as it helps thicken and solidify the bars. Hope this helps, let me know if you have any other questions!
Taylor says
This happened to me as well, I added an additional 6 minutes but it still seemed too runny. I’ve taken them out to avoid any burning and hoping for the best when they come out of the fridge later…
Lori S says
Hi, can I use Pilsbury pie crust for the bottom? Would it need to be pre baked?
Andrea says
Hi Lori! I haven't used Pillsbury pie crust as a crust for dessert bars before, but I do love this quick and easy alternative! I think it would be a good idea to pre-bake the crust because even the crust in this recipe requires a pre-bake. The only concern I would have is that these bars have a pretty heavy and thick filling and there is potential for them to not hold up well with a thiner and flakier crust. Hope this helps!
Jacki says
I wish you added the recipe in metric too. I find weighing ingredients so much faster and easier. I’m going to make these at Christmas time. I’ll let you know what I think. They look delicious. I’m going to add raisins.
Georgie says
can they be frozen?
Andrea says
Yes! They can for up to 3 months in an airtight container.
Dayle says
These quickly became "The Best You Have Ever Made Mom" buttertarts, from a family who loves buttertart squares! Thank you!
Andrea says
This makes me so happy! I'm so glad your family loved them 🙂